
Rebuilding the Azure Window and the Inland Sea tunnel
The Azure Window fell in 2017 and no survey can see inside the Inland Sea tunnel. How I rebuilt both in Minecraft from photos, and everything that went wrong on the way.
In short: The Azure Window fell in 2017, and no survey has ever seen inside the Inland Sea tunnel. I had to rebuild both from photos, on top of survey data that gets them wrong in useful ways. This is how they went from a box cut through a cliff to something you can sail through, and what kept going wrong along the way.
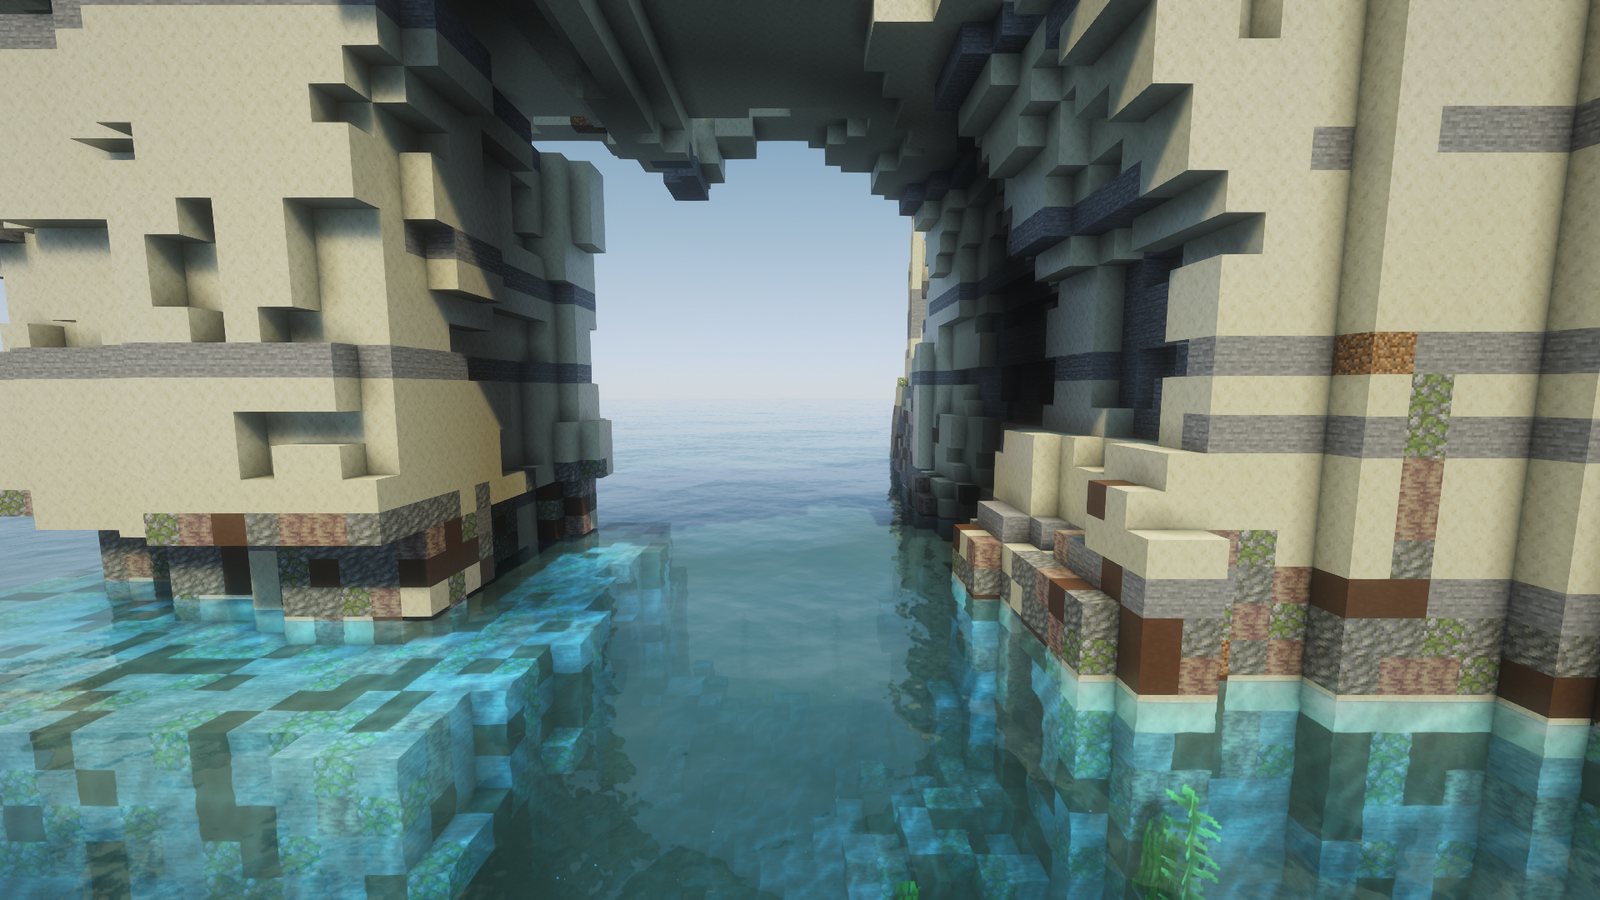
Two landmarks the data can't see
Most of Malta in Minecraft comes straight from measurements. These two places don't, for opposite reasons.
The Azure Window is missing because it no longer exists. It collapsed in a storm on 8 March 2017. The 2012 survey was flown while it still stood, so the arch is in the data, but only as a laser sees it from an aircraft: a solid tongue of rock running out to sea. From above, an arch and a wall look identical. The aircraft had an excuse.
The Inland Sea has the opposite problem. The lagoon is in the data, but as flat ground at sea level, and the tunnel that joins it to the open sea is missing completely. Nothing flown overhead can see into a cave.
So for both, the survey gives me the outline, and photos have to supply everything else.
The Azure Window: from a doorway to an arch
My first version cut a rounded opening through the surveyed rock. In the game it looked wrong straight away. I had built a doorway: a large, beige, deeply stupid doorway.
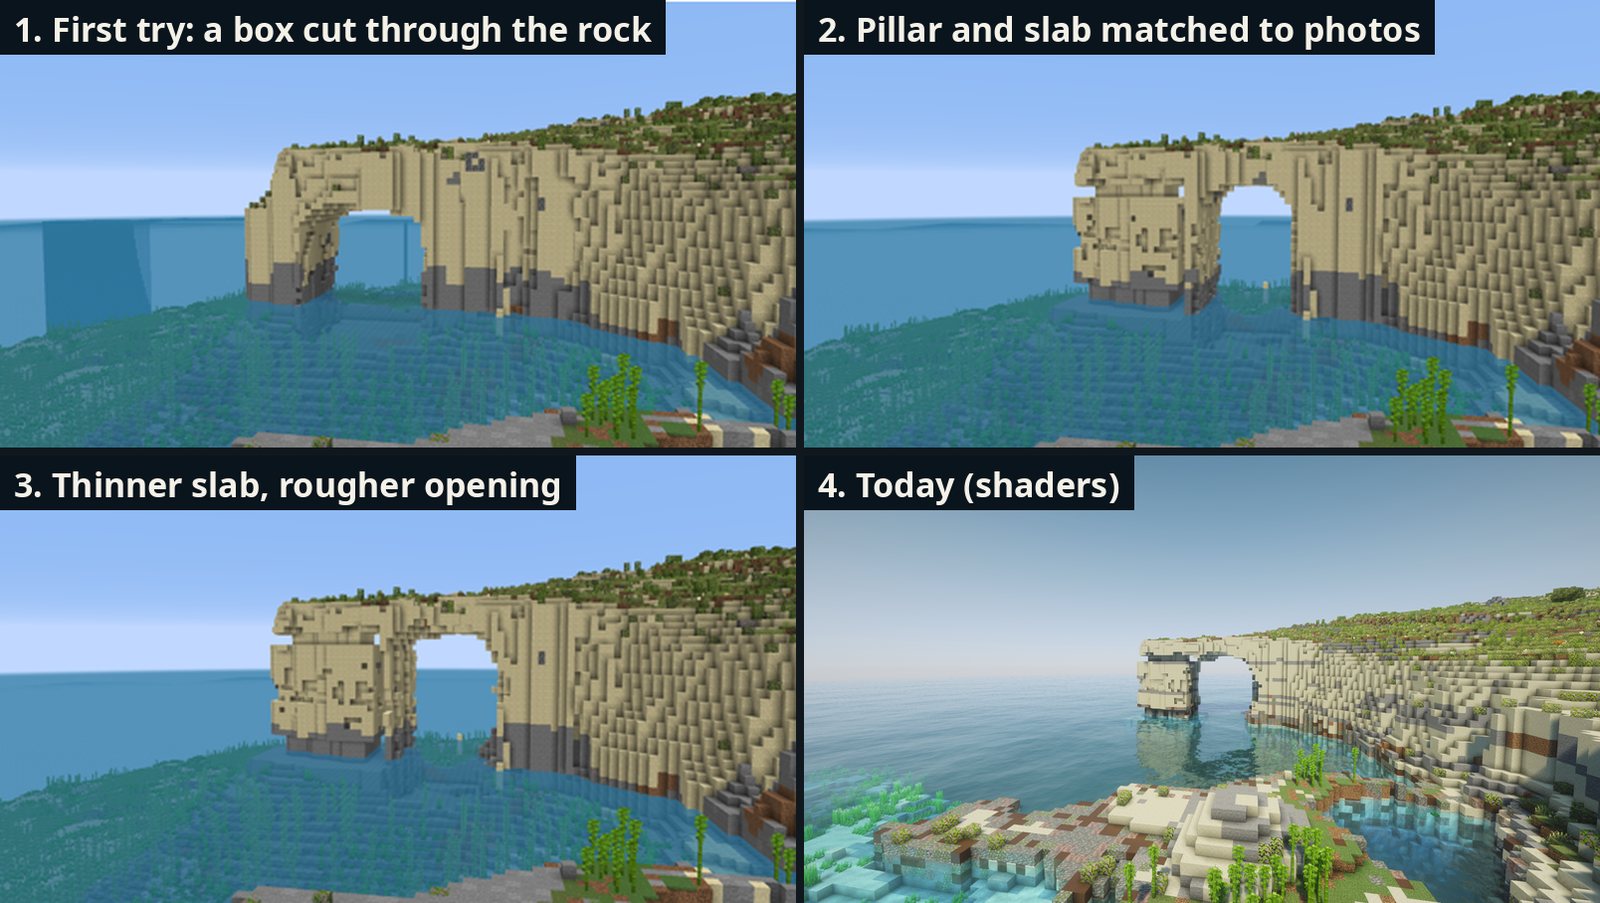
About a dozen photos, taken between 1989 and 2017, showed me what was missing.
-
The real arch was lopsided. The pillar standing in the sea was the heavy part, about twice as wide as the opening.
-
On top lay a thin slab, like a table top, overhanging the pillar, with a dark notch where the two met.
-
The opening sat tight against the cliff, at one end of the spur.
Getting there took several rounds, and I compared each one to the same views as the photos:
-
Moving the opening against the cliff turned the narrow end into a proper pillar.
-
Setting the pillar back under the slab gave the table-top overhang.
-
Thinning the slab. Mine was up to 11 m thick at the sides. The photos show about 4 m over most of the span.
-
Making it less perfect. This was the hardest lesson for me. A neat curve built from blocks looks manufactured, because nature doesn't do neat curves.
- Now the walls wander along the passage, one side bulges, and the roof is uneven.
- The rock follows horizontal ledges, like the real limestone layers.
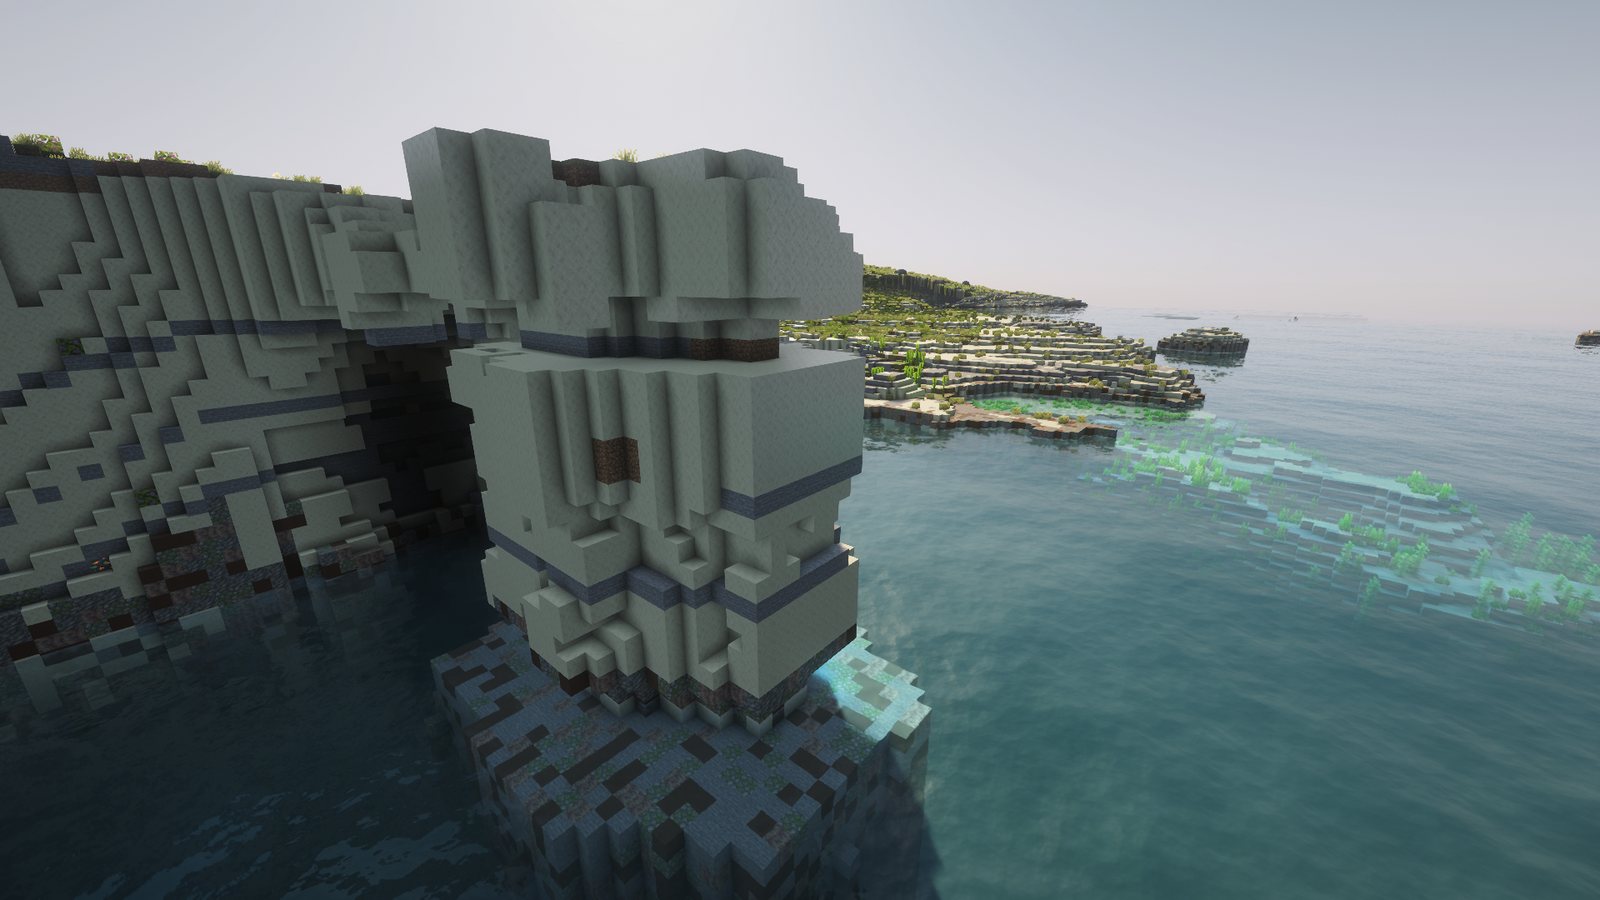
Making it rougher created a new bug. Where a wall wandered, a sliver of rock one or two blocks thick could be left standing with an empty slot behind it. The window now had gaps in it: a window with extra windows.
-
I fixed it by measuring the pillar from the wall as it was actually carved at each height.
-
A clean-up pass also removes single blocks and thin posts left standing in the water.
Under the Azure Window
The arch looked right from above the water. When I looked with shaders, which make the water clear, there was a problem underneath.
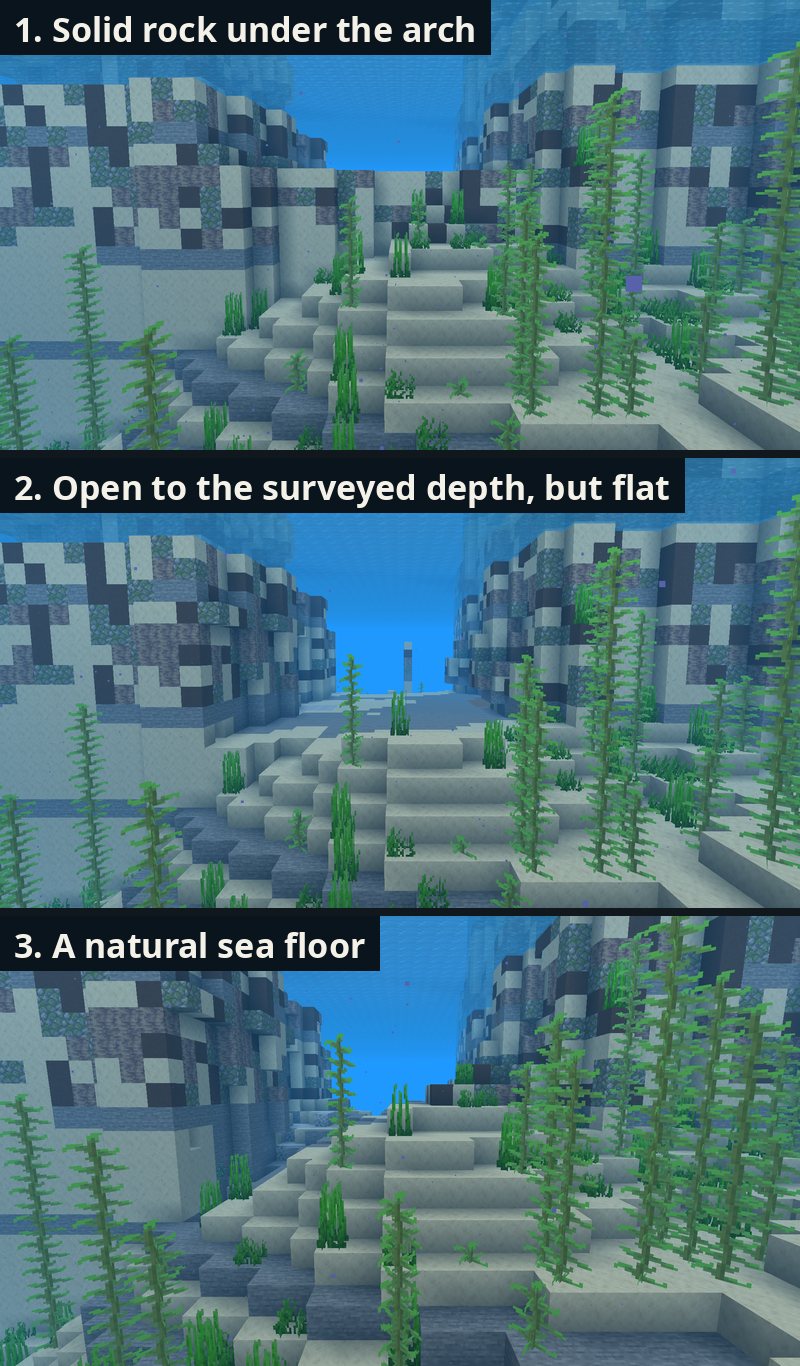
- A wall of rock under the arch. I had cut the opening only 5 m below the surface, a guess from photos.
- Below that, the "solid tongue" from the survey was still there, rising straight from the seabed between the pillar and the cliff.
- The seabed survey from 2012, made while the Window still stood, measured 7–14 m of water under and around it. My guess was about 6 m short. Underwater, 6 m is the difference between an arch and a dam, and I had built a dam.
-
Now the opening goes all the way down to the seabed.
-
A floor as flat as a table. Cutting to one depth left a perfectly flat sheet, the giveaway of a made-up surface. Now the floor follows the survey's seabed around the arch, with a gentle swell and scattered boulders. The boulders are my modelling. The overall shape is measured.
-
The wrong rocks. Minecraft scatters granite and diorite through stone, and on the seabed they showed up as grey and white blobs that Malta's limestone coast doesn't have. Any that touch water near the seabed now turn into plain stone.
The Inland Sea tunnel: one tube, three shapes
My first tunnel was a single round tube, the same shape from end to end. About fifty photos from boats, from the water and from the cliffs showed me that the real one changes completely along its length:
-
On the lagoon side, a tall, narrow pointed arch, almost gothic.
-
In the middle, narrow and high, with a slight bend.
-
On the sea side, a wide, low cave with a flat roof, where the rock splits along its layers.
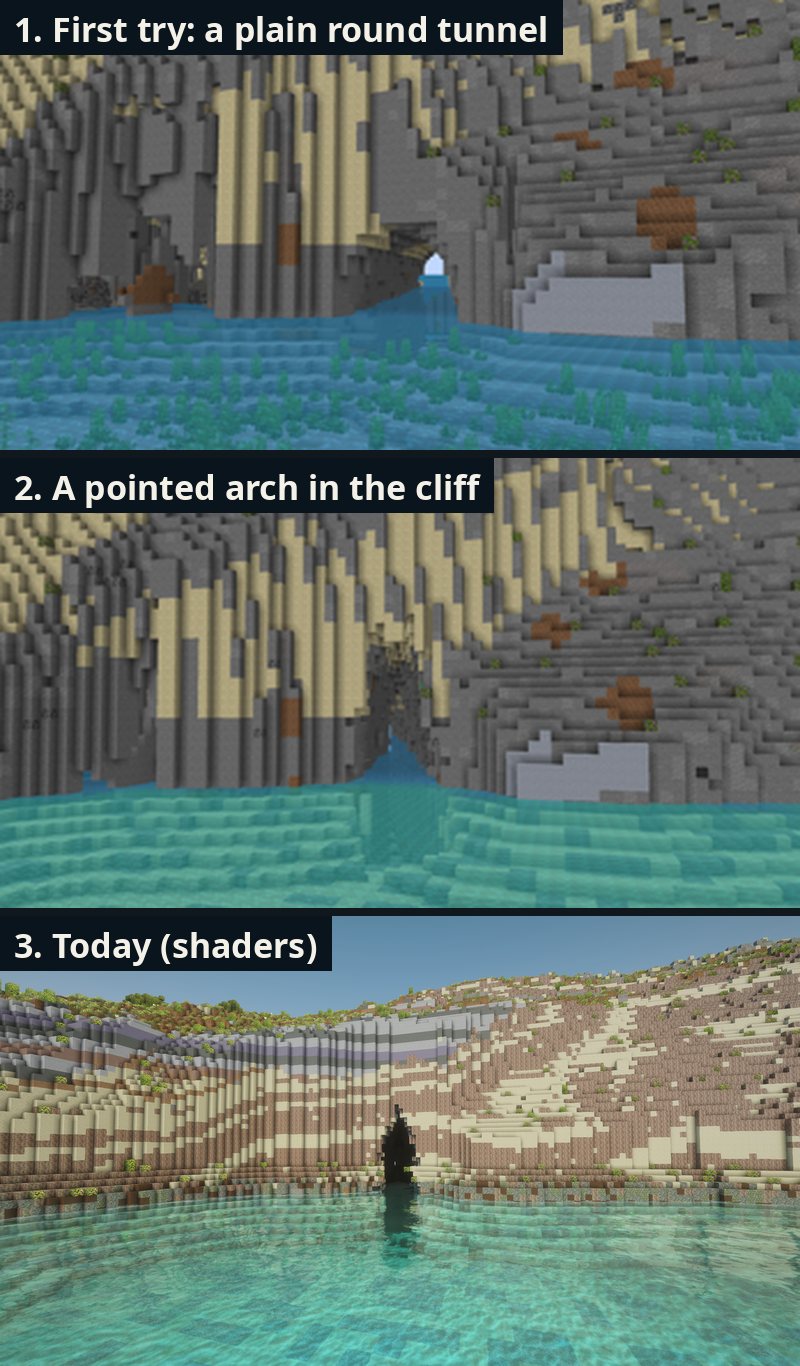
So I made the tunnel a path whose cross-section changes along it, blending from pointed to narrow to wide and flat, with a depth that goes from 6 m at the lagoon to 25 m in the middle. I can reuse the same tool for other sea caves later. Write that down. It's the first thing in this post I did right.
What went wrong:
-
Openings in mid-air. The tunnel mouths came from OpenStreetMap's cave entrances, but those points sit a little way off the cliff faces. My first carefully shaped mouths ended up beyond the cliffs, over water, where there was no rock to shape. The sea mouth is actually about 110 m along a 134 m path.
-
A tunnel that closed itself. I added a rule to always leave rock above the tunnel, so it couldn't break through to the sky. Where the cliff is low, that rule sealed the sea mouth shut. I had carved a tunnel and then bricked up its exit. Now, where there's no rock for a roof, the cut simply stays open.
-
Minecraft's own caves. The world's normal cave generation still runs underground, and my first tunnel cut straight through a cave system. That left rock pillars in the water, and even patches of sculk from the deep dark. Now I fill in natural caves near the tunnel before carving it.
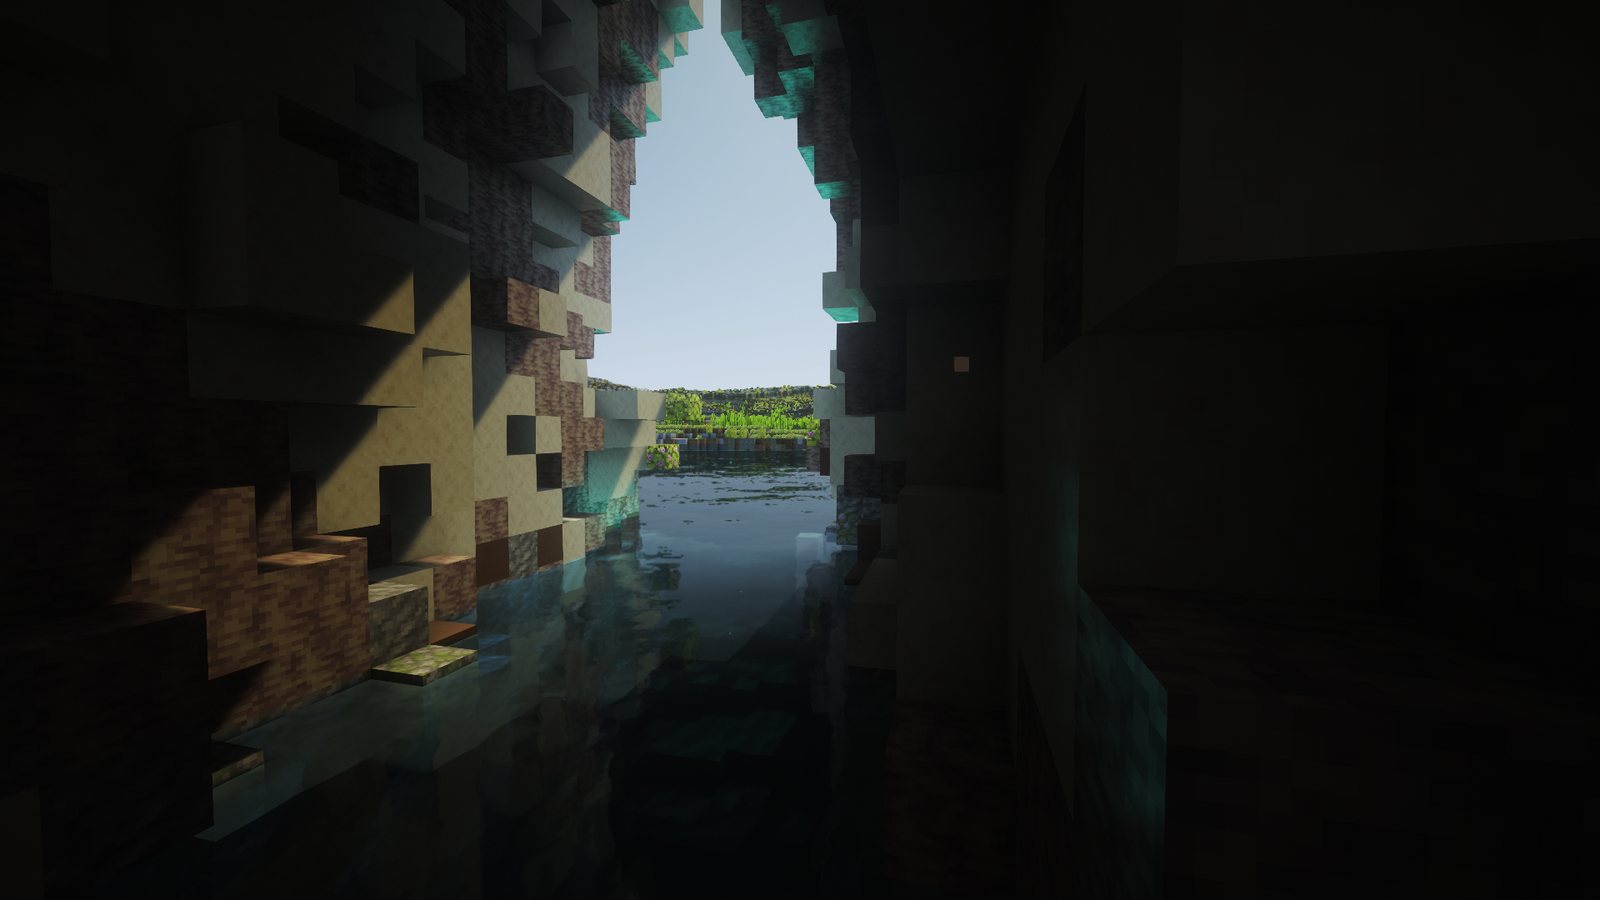
Inside, it's dark. I don't use night vision in these pictures, and the real tunnel is dim in the middle too. The light at each end is how you find your way.
The lagoon: getting the colour right
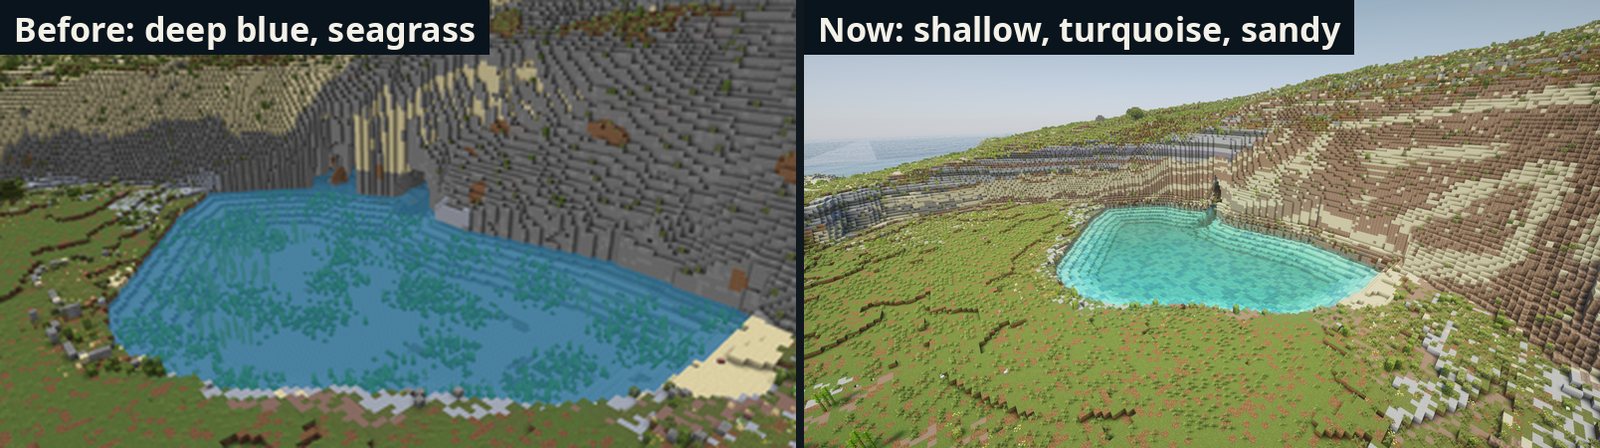
With no data under the lagoon, my first build made it ordinary ocean: deep blue water and seagrass. The real Inland Sea is shallow and turquoise over pale sand and pebbles, which is what makes it so photogenic.
-
I gave it its own biome: turquoise water, a sandy floor with patches of gravel, and no seagrass or coral.
-
Its 1–6 m depth is modelled, since no survey reaches inside.
The Blue Hole next door first inherited the same biome, and it was full of bubbles. Those came from magma blocks Minecraft places on the sea floor, which don't belong in Maltese waters. Now it has its own darker blue biome, and I removed the magma from every Maltese sea.
What these two taught me
-
When the data can't see something, photos decide. On the wiki I say which parts are measured and which are modelled, for every place.
-
Perfect looks fake. Every round of "smoother" or "neater" made things worse until I added randomness that follows the rock's layers.
-
Look under the water. Half the problems were invisible to me until shaders made the sea clear.
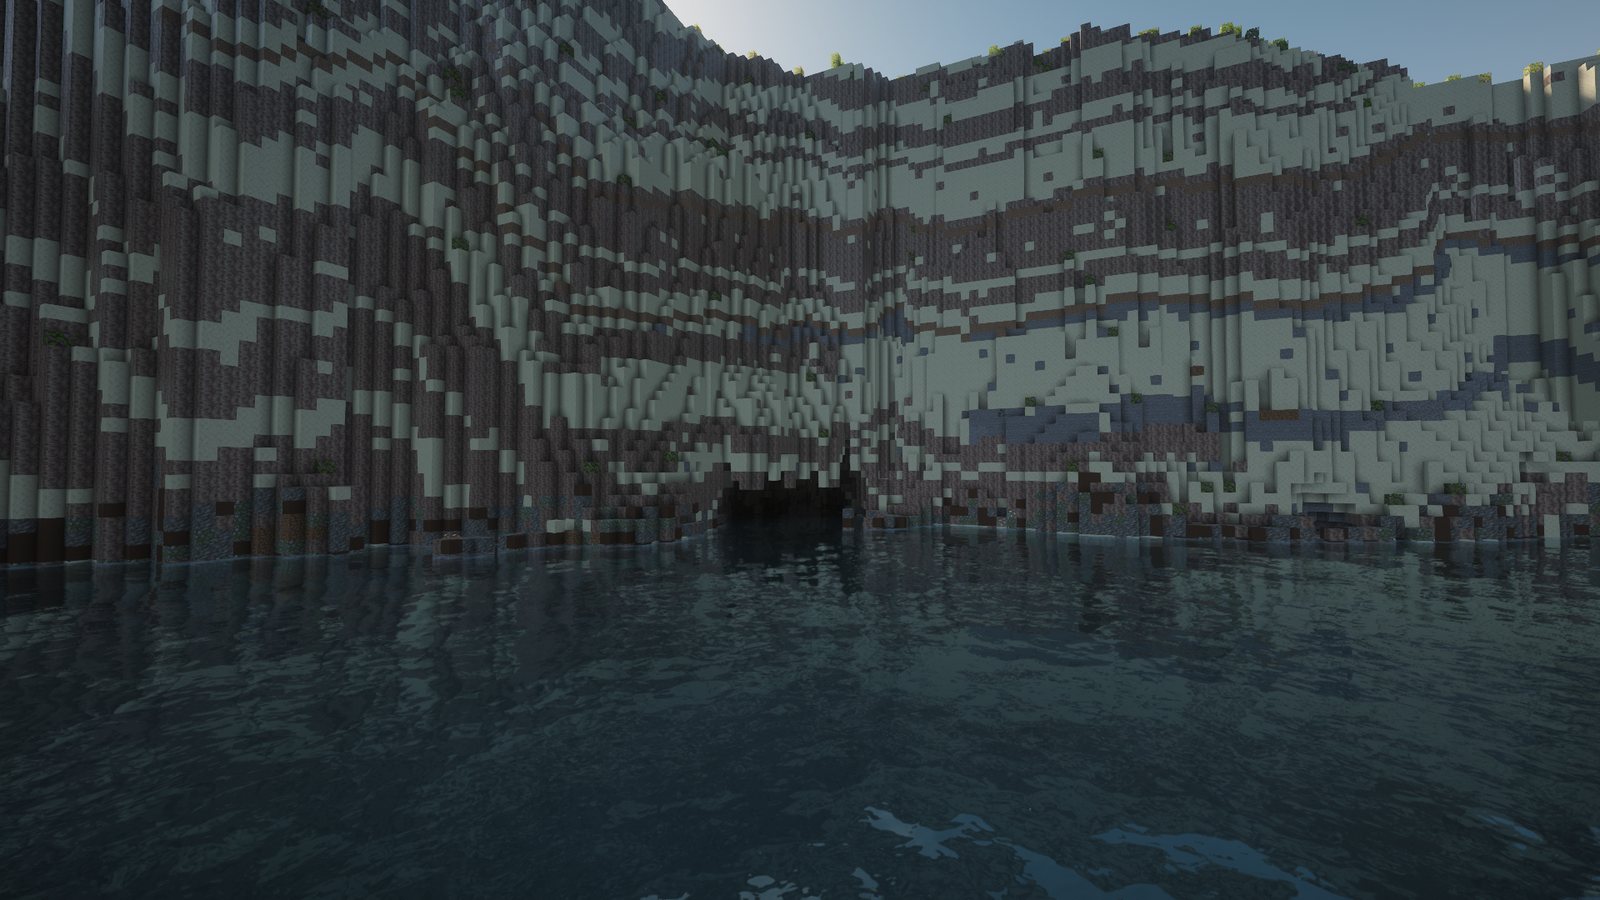
Both places have their own wiki pages now, with sizes and teleports: the Azure Window and the Inland Sea. Do you have photos of either from before 2017, especially of the Window from the sea or the inside of the tunnel? Get in touch. As you've just read, I need all the help I can get.
Technical details
-
Azure Window: a dedicated carve shape with parameters for the opening (edges, top, corner radius), pillar set-back, overhang notch and wave undercut. Wall relief follows horizontal bands, a smoothing pass removes single protruding blocks and fills single-block pits, and every option has a switch back to the earlier look.
-
Depth under the arch: the median of the 2012 seabed grid under the opening (11 m). The floor is that grid sampled at 2 m with bilinear interpolation, plus a ±1.2 m swell over about 7 m and boulders 1–2 blocks high.
-
Sea tunnel: a path of five points with cross-section profiles (half-width, height, shape: pointed, round or flat) blended along it, a depth profile, rough walls, a minimum-roof rule with an open-cut fallback, and natural caves filled within 12 blocks before carving.
-
Cliffs round the lagoon: the 15 cm 2018 survey, edge-preserving, within 30 m of the lagoon.
-
Pictures: in-game, early stages without shaders. Final shots with Complementary Unbound and Faithful 64x.